
Low fodmap Kitkat cheesecake
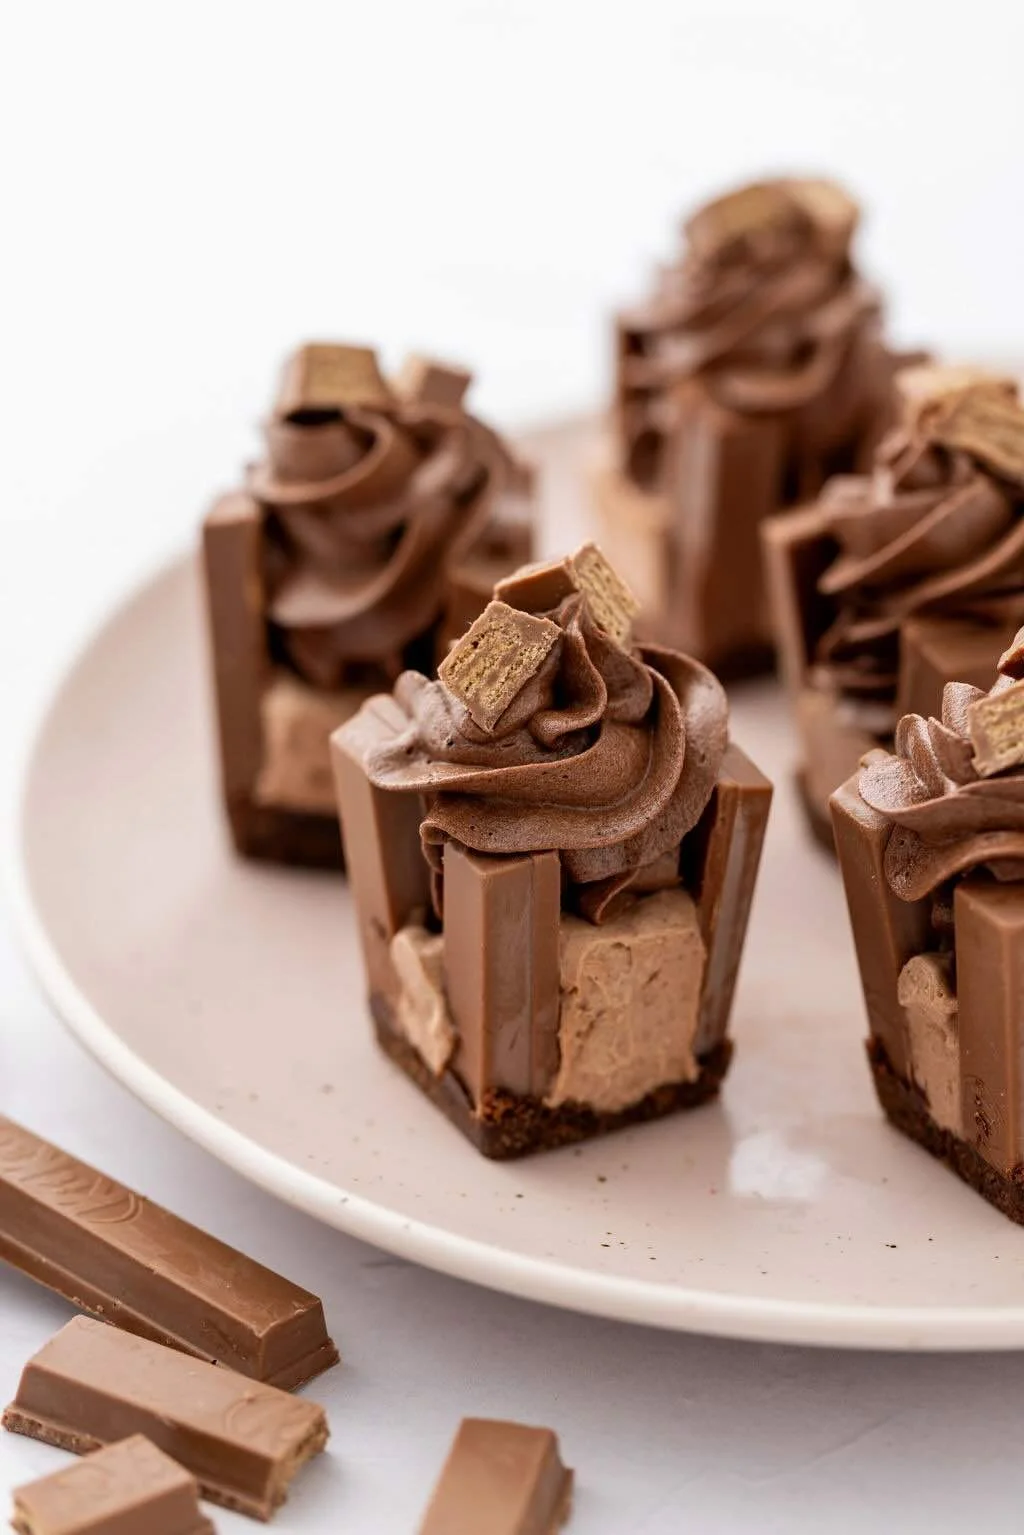
What do you do when your teenager loves chocolate, dreams of cheesecake towers covered in KitKats, and has just been diagnosed with IBS? You get creative! The architectural challenge was to build a birthday treat that would impress a chocolate loving teenager, while making the cheesecake fodmap friendly. Because an IBS diagnosis shouldn’t mean missing out on chocolate treats.
INGREDIENTS
The classic ratio for the cheesecake base is 250g digestive biscuit and 125g melted butter. You can scale this up or down to suit your cake/chocolate molds. Because my silicon base was square, I used 80g biscuit plus 40g melted butter and 1 tbsp Pana cocoa powder.
BASE:
80g digestive biscuit (I used gluten free Scotch Fingers)
40g melted butter
10g cocoa powder (I used Pana because it’s organic & gluten free but mostly because it tastes good)
42g KitKat (4 fingers)
5g chocolate, melted (for architectural purposes!)
CENTRE:
120g lactose free cream
100g lactose free cream cheese
5g cocoa powder
20g caster sugar
2 fingers KitKat, finely chopped
BUTTERCREAM:
50g unsalted butter, softened
75g icing sugar, sifted
10g cocoa powder, sifted
15ml lactose-free milk
2 fingers KitKat, chopped in quarters
METHOD
1. Add melted butter to broken up biscuits and cocoa powder and blitz. The result will be a wet-ish sand. Check to see that it’s not too dry/crumbly. You could add more butter if required but using the 50:50 biscuit/butter ratio works a treat!
2. Press into base. Using my square silicon ice-block mold, I made 10 mini cheesecakes – using 12-14g of cookie base each. Should you line the molds with baking paper? I tried the recipe numerous ways: – one with baking paper; one with a light spray of olive oil; one without baking paper or olive oil. Which produced the most insta-worthy result? No difference! The thing that DID make the biggest difference was using the right piping nozzle to get that lovely swirl of buttercream (but more on that later).
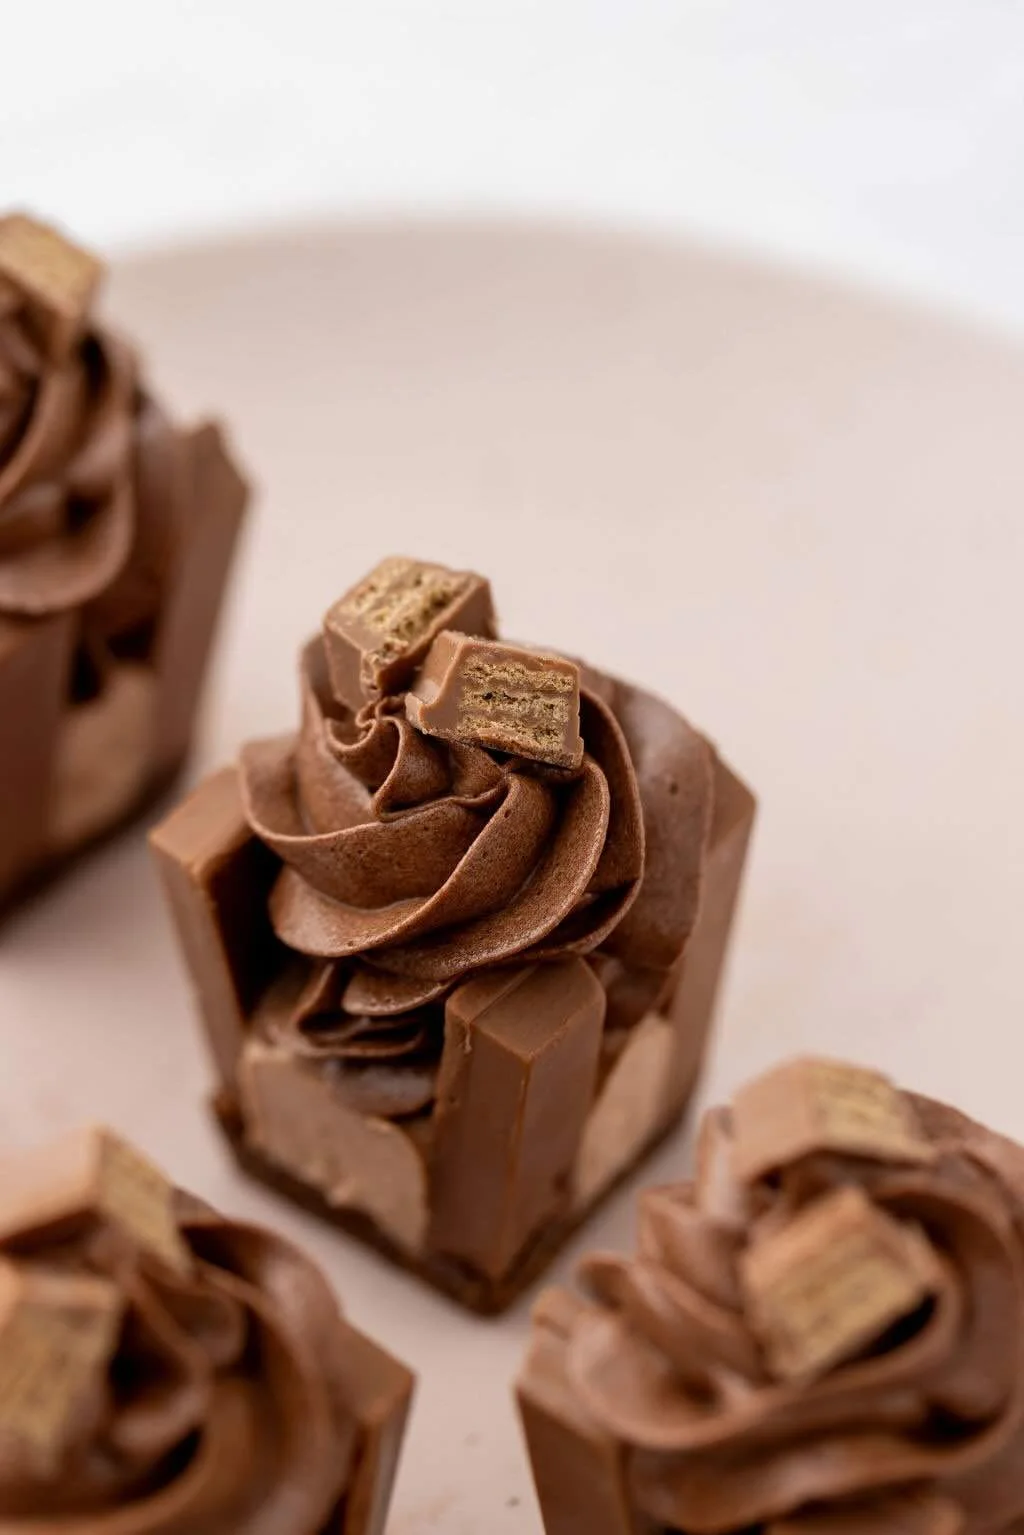
3. Use melted chocolate to dab on the bottom of KitKat halves to build your cheesecake frames. This is when you’ll most need your architectural skills! Refrigerate while making the cheesecake centre.
4. Add lactose-free whipping cream, creamcheese, cocoa and sugar to a mixer until smooth and thick. Stir in 2 finely chopped KitKat fingers.
5. Add the mix to a piping bag and fill ¾ way up your molds – about 2-3 tablespoons. Place in the freezer overnight (or at least 4 hours).
6. Make buttercream by placing butter in a stand mixer until pale and fluffy. Add half the icing sugar and continue beating. Add remaining icing sugar and cocoa powder. Add milk slowly and beat again until the mix has come together.
7. Remove cheesecakes from mold and pipe buttercream. Test to ensure you’ve selected the right piping nozzle to create a lovely swirl (I experimented with 1M and closed star nozzles). Decorate with ½ KitKat finger.