
Making Lactose-Free Magic
Love milk but resent spending $3.65 per litre on lactose-free milk? Here’s a simple and cost-effective way to convert regular milk into lactose-free milk. In this blog, we'll show you how to convert regular milk into low lactose milk in 2 easy steps, saving you $$$. Best of all, you’ll be able to keep drinking your favourite hot chocolates or Superflora gut health shakes without digestive distress.
Skip to the video at the end if you want the quick version… but note, the conversion to low lactose milk does take a bit longer.
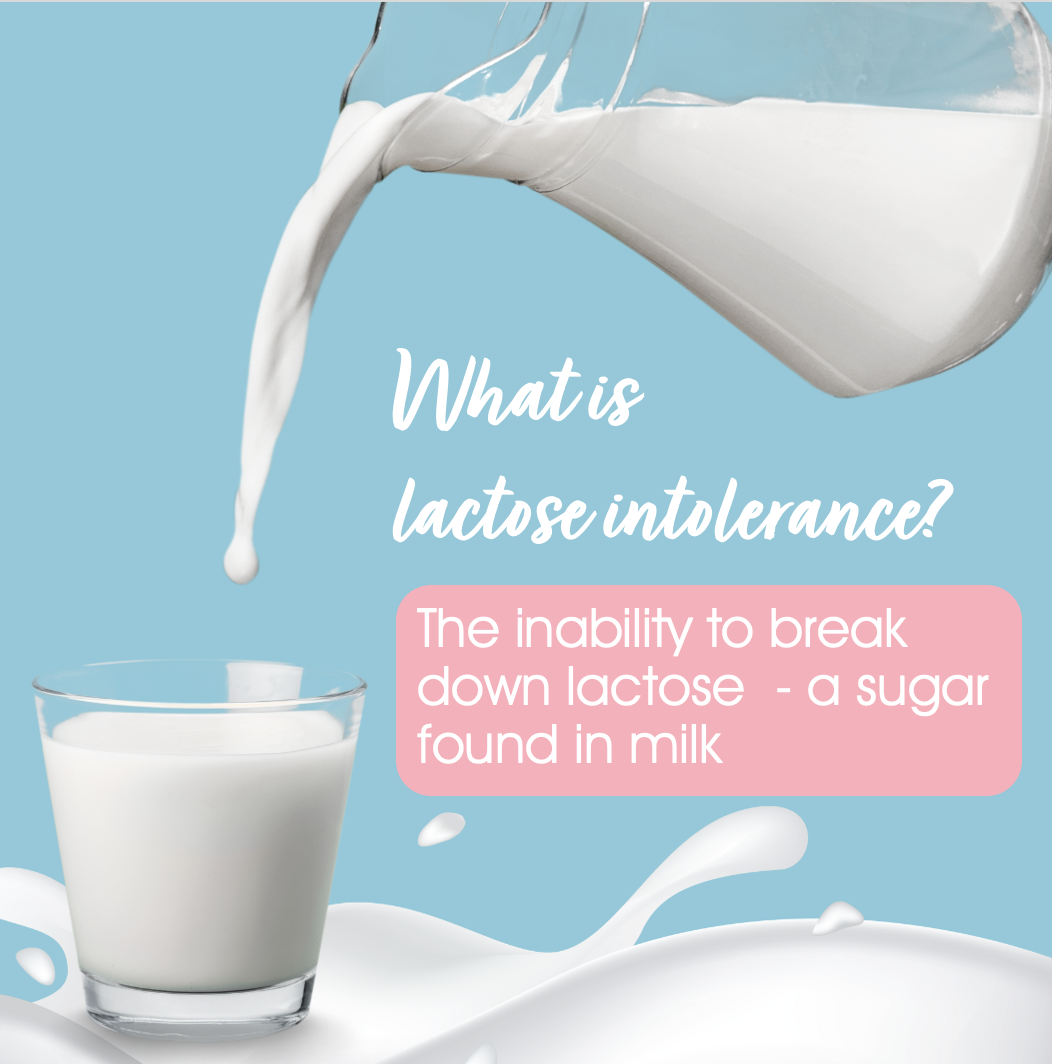
What is lactose intolerance?
Before we delve into the process of making lactose-free milk, it's essential to understand the basics of lactose intolerance. This condition arises when the body lacks sufficient lactase – an enzyme that breaks down the sugars found in milk. Without enough lactase, undigested lactose can lead to symptoms like bloating, gas, diarrhea and abdominal discomfort.
Lactose intolerance is incredibly common – about 65% of the global population has some degree of lactose intolerance. Due to genetics, people with East Asian, West African, Middle Eastern, Greek, Italian and Aboriginal and Torres Strait Islander backgrounds are more likely to be lactose intolerant. In Caucasians, around 1 in 20 suffer the same fate.
How to make low lactose milk
Converting regular milk into low lactose milk is a simple process that involves using lactase drops. Lactase drops contain the enzyme lactase, which helps break down lactose into simpler sugars, making milk more digestible.

Step 1:
Add lactase enzyme drops to regular milk. Lactase drops are readily available in most pharmacies. Follow the instructions on the back of the packet, as dosages may vary. Typically, you’ll need to add a specific number of drops per litre of milk. In my case, I add 8 drops to a 2-litre container. The lactase bottle already has a dropper, so it’s really easy. After use, keep your lactase refrigerated.
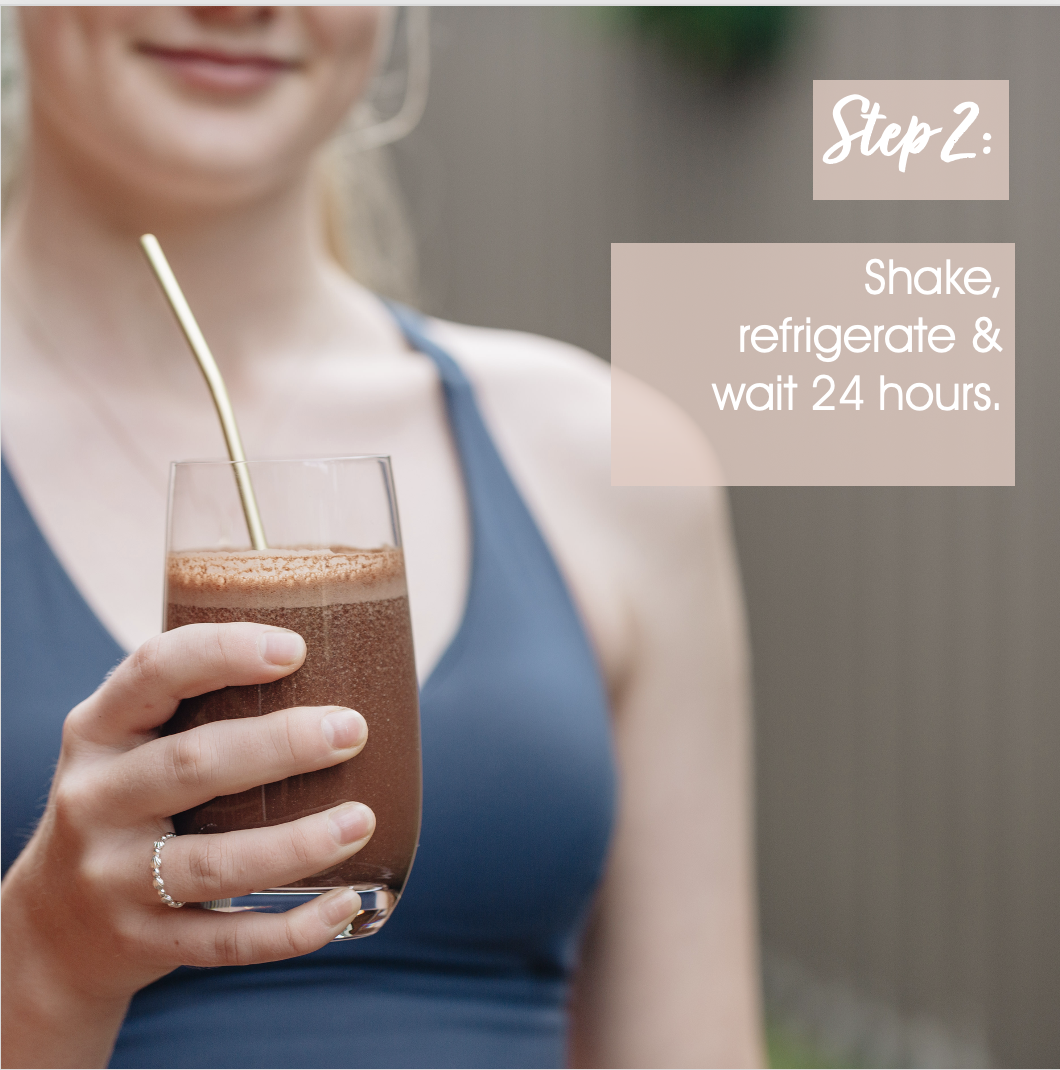
Step 2:
Wait. The chemical reaction takes 24 hours. So shake, refrigerate and wait.
Keep in mind that the converted milk will have a sweeter taste due to the breakdown of lactose into simpler sugars – glucose and galactose.
And that’s it! Two easy steps to make lactose-free milk magic.
Tips and Considerations:
1. Start with a small batch to test your preferences and tolerance before making larger quantities.
2. Be patient during the conversion process; the reaction takes time.
3. Keep the converted milk refrigerated to maintain its low-lactose status.
4. Experiment with different enzyme concentrations to find the perfect balance of sweetness and lactose reduction for your taste buds & tummy.
5. Label your milk lactose-free so the rest of your household don’t get confused.

Benefits of DIY lactose-free milk
Convenience: This method offers a convenient way to enjoy low lactose milk without the need for heating or cooking. It's a simple process that fits seamlessly into your routine. I now do this routinely when I unpack the groceries after my shopping and then I’ve got lactose-free milk for the week.
Cost-Effective: Lactase drops are readily available and relatively affordable, making this a cost-effective solution compared to buying pre-made lactose-free milk. Based on my household’s milk consumption, I’m now saving over $8 per week (note – we drink Superflora Gut Health Shakes blitzed with lactose-free milk daily and everyone loves hot chocolates in the evening).
Converting regular milk into low lactose milk using lactase drops is a hassle-free way to enjoy dairy without tummy upsets. This enzymatic transformation offers convenience, cost-effectiveness and customisation, allowing you to enjoy milk on your terms. By following this simple 2-step process, you can indulge in your favourite dairy delights without worrying about digestive distress. Cheers to a more lactose-friendly lifestyle!
FAQs
How much money will you save?
To calculate how much you will save by converting regular milk to lactose-free milk using lactase drops, compare the cost of using lactase drops to the cost of buying pre-made lactose-free milk. I currently pay around $3.65 per lactose-free litre vs $1.50 per litre for regular milk. My lactase enzymes cost $29.95 for 15ml – 90 serves per bottle – so I’m looking at a saving of $8.00 per week based on my household’s milk consumption.

How do I know if it’s safe to drink?
So you’ve added the enzymes and waited patiently for 24 hours, but how do you know that your milk has been transformed? There are 2 methods - one slightly easier than the other!
The first is to test for the presence of glucose. If you want to go all mad scientist on this, you could purchase some glucose-testing strips and turn this into a science experiment! When glucose-testing strips are dipped in regular milk, no glucose is detected as the molecules have not been broken down yet. After adding a lactase enzyme and waiting 24 hrs, glucose-testing strips change colour, indicating that the sugars have broken down into glucose and galactose. And yes, I tried this! I purchased the glucose strips from my local chemist and voila – after 24 hours, my lactose-free milk DID detect the presence of glucose!
The second and most straight forward method is a taste-test. Lactose-free milk is sweeter than regular milk because the lactose has been converted into simpler sugars, so you should be able to taste the difference. As always, trust your gut. If your digestive system reacts, then add more enzymes.
Want to learn how to make your own lactose free milk and save money? If you or someone in your household drinks low lactose milk, then you’re going to love this tip!
Written by Josephine Muir, PhD & Mary Webberley, PhD. Founders, Noisy Guts Pty Ltd. Want to read more about us? Click here!